Nearly every fountain pen with a screw-on cap is also equipped with an inner cap. The inner cap is a short tube, usually but not always closed at the top end, which seals off the nib when the pen is capped. The inner cap also provides a solid stop when screwing the cap in place, the section face ending up pressed firmly against the mouth of the inner cap. The inner cap often also serves to hold the clip in place, as is the case with the Wahl pen shown in the cutaway view above.
A damaged or distorted inner cap is easily overlooked, but can cause real problems. When an inner cap leaks or does not seal against the section, the nib may dry out and not write promptly when put to paper, while ink may make its way around the interior of the cap and onto the section and barrel. If the face of the inner cap is not square to the cap's axis, the cap will not sit straight on the barrel when screwed in place. And if the inner cap is too short or entirely missing, it may be possible to screw on the cap too far. This risks both splitting the cap if it is turned beyond where the threads end, and destroying the nib by bottoming it out against the inside of the cap top.
Since inner cap problems are so easily overlooked, and since they so often require a lathe to remedy, many dealers don't bother addressing them. We do; a recent example is shown below.

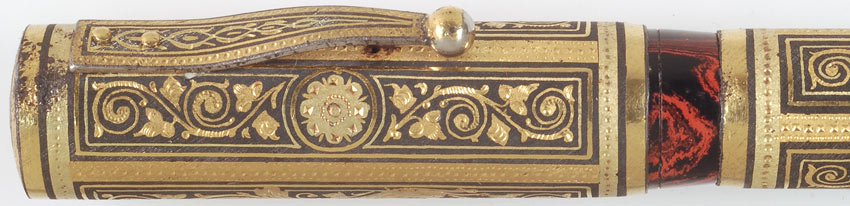
The pen is a British-made Mabie Todd Jackdaw, an economy-line model that ended up in Spain, where it was fitted with an elaborate Toledo-work overlay. Top-line makers such as Mabie Todd made sure that their pens' inner caps were problem-free, but in this case the maker of the overlay wasn't quite so careful.
The pen came to us unused, yet I immediately noticed that the exposed hard rubber cap lip appeared to bottom out against the shoulder of the barrel overlay, which is quite thick. If this was indeed the case, twisting the cap on tightly would compress and could crack the cap lip. And if the cap wasn't being stopped by the section coming to rest against the inner cap, as it should, there would be a gap there instead and no seal. But what if the overlay had been perfectly placed so that contact was made in both places simultaneously -- section and inner cap, cap lip and overlay? A quick measurement with the sliding depth gauge I use to ensure sufficient nib clearance was not decisive. If the contacts weren't simultaneous, they were very close

Next step was to back out the section a couple of millimeters, then to screw the cap all the way on so that the inner cap pushed the section into the barrel. Sure enough, there was a gap of just .025 inches. The cap lip was taking all the pressure, just as I had suspected.
What to do? The barrel overlay could not be moved, for its lever cutout was aligned with the recess in the barrel under the end of the lever. Instead, the inner cap would have to be extended. A washer was cut from hard rubber, inner and outer diameters matching those of the inner cap, .030 inches thick. It was warmed and then pressed into position against the inner cap's outer face.

The cap now seats on the inner cap, and not on the cap lip. There is virtually no change in exterior appearance, as the cap lip clears the barrel overlay by mere thousandths of an inch.
No comments:
Post a Comment